27/feb/2013
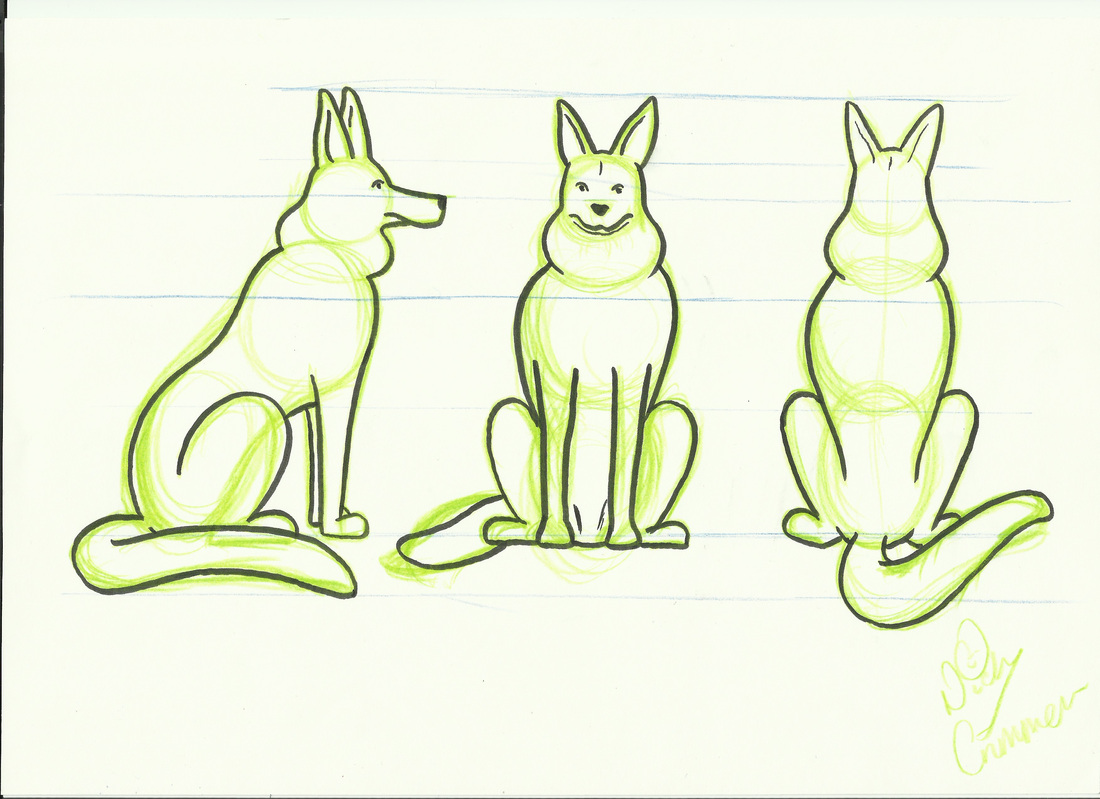
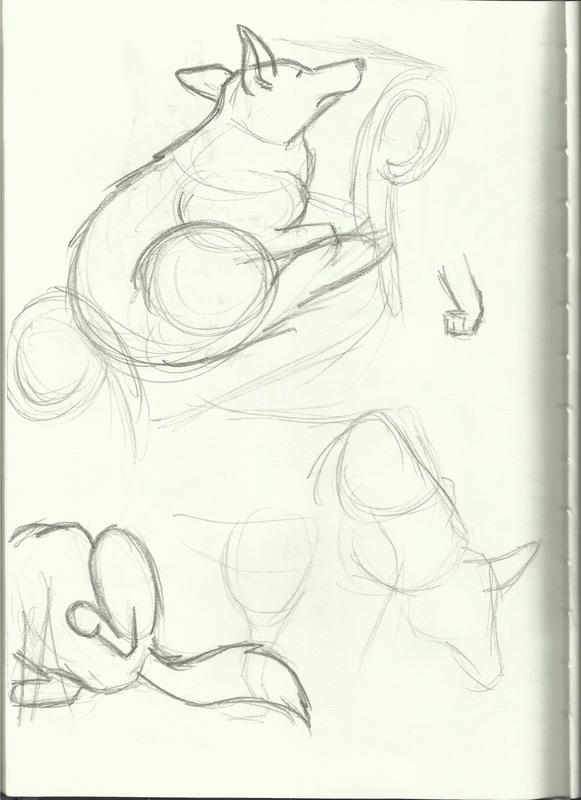
I met up with Mary today and showed her all my sketches and 1st draft paper cutout design.
She then took me through the process of designing a paper cutout puppet with much more movability in mind, through the use of many more joints and parts of the characters.
I was also given useful tips on planning ahead for useful elements such as squash and stretch, through the way in which you make the joints.
All key points which in the long run should help me to create a much more realistic and forgiving animation of a life like dog through the use of paper cutout.
Drawing out the parts of your paper cutout puppet:
- take a drawing, photocopy, upscale, print out.
- light box. (I used the shower in our flat :P), trace over each 'section' or 'segment' of the character (making sure to leave no harsh edges all smooth! and with enough overlap)
- gaffer tape the back of the sheet
- nail scissors, cut out all the bits
- then its time to join them together through the use of the two types of joints Mary showed me.
I have included a step by step of the way Mary showed me how to make the joints below:
The first is a Stitch joint...

And now the Spiral joint...
Other Key Things To Remember About A Paper Cutout Production!:
* 3/4 Views are hard to work with in the medium of paper cutout. Front and Side shots are best
* Multiple puppets are often needed for the creation of a single action/scene. (e.g. A blinking eye make be too difficult and fiddly for the animator to achieve on a long shot where the head of the puppet is quite small, but cut to an upscaled head on a close up shot and the animation is far simpler to create.)
* You need to embrace the home made look of stop motion paper cutout! You can't ever completely hide the joints, or the look of overlapping pieces of paper, and in trying to do so you are just causing yourself more work and stress over a project that would be much better suited to the medium of 2D Digital.
* It is often automatically taken for granted that if a client asks for a piece to be created within paper cutout then they are fine with the homemade look and the sight of joints etc.
* There's no excuse for not creating loads of tests and draft puppets with paper cutout, as it is so quick, cheap, and easy to make.


 RSS Feed
